Commenti Dashboard Guide
Create & Import
1. Register Domain
Before creating Commenti sections, you need to register your domain:
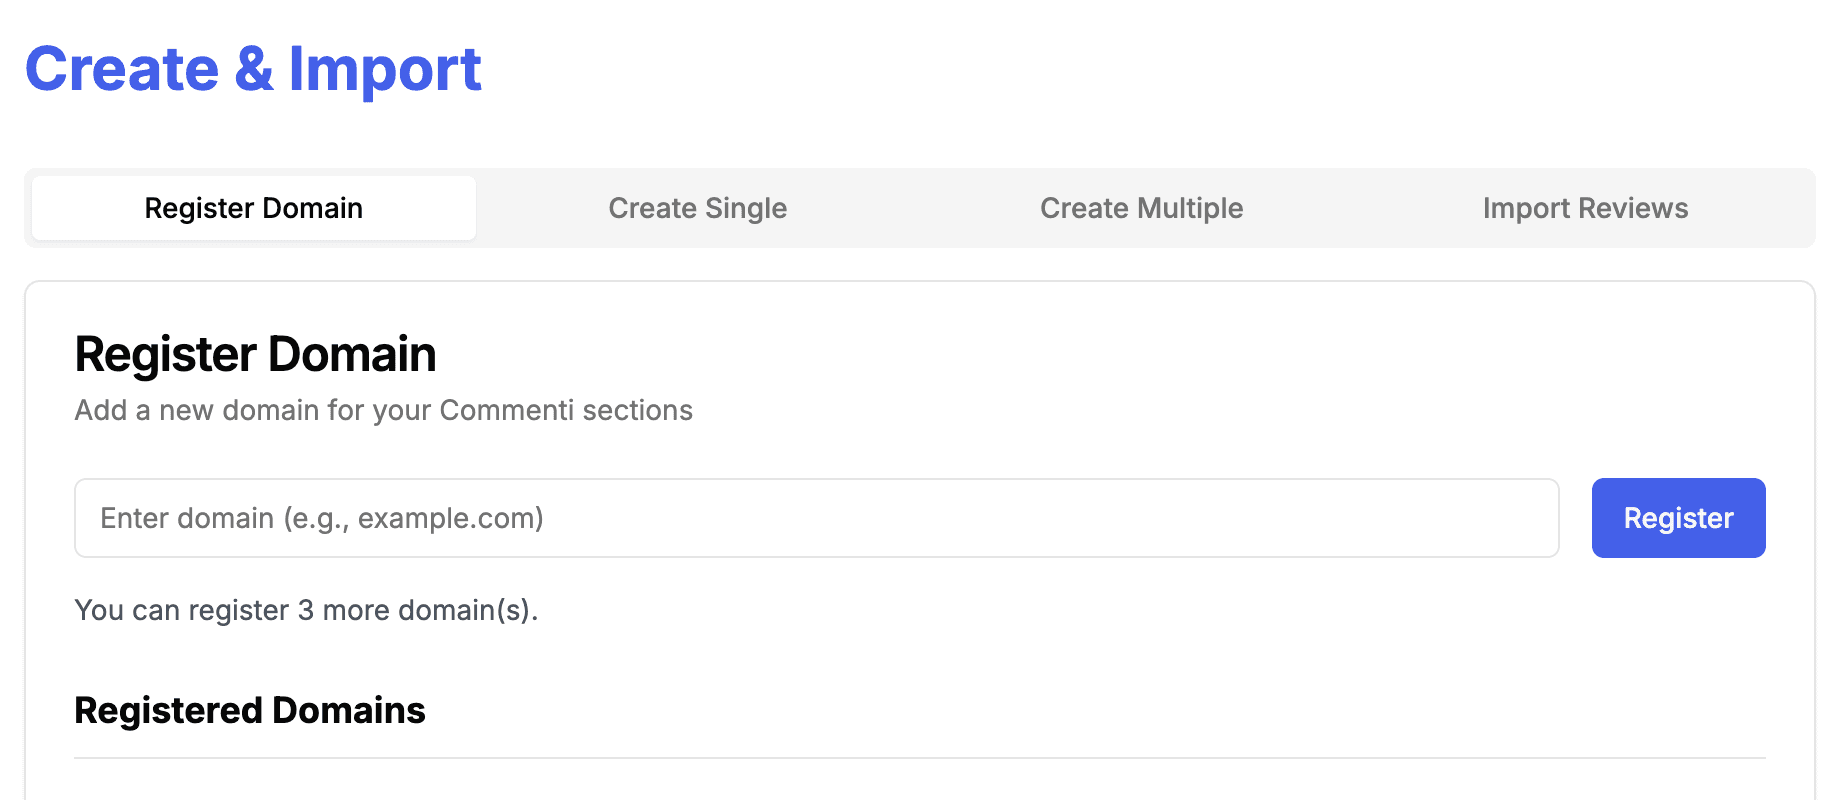
Navigate to the "Create & Import" menu in your dashboard
Enter your website's domain in the provided field
Click "Register Domain" to add it to your account
2. Creating New Commenti Sections
After registering your domain, you can create Commenti sections:
For Single Creation:
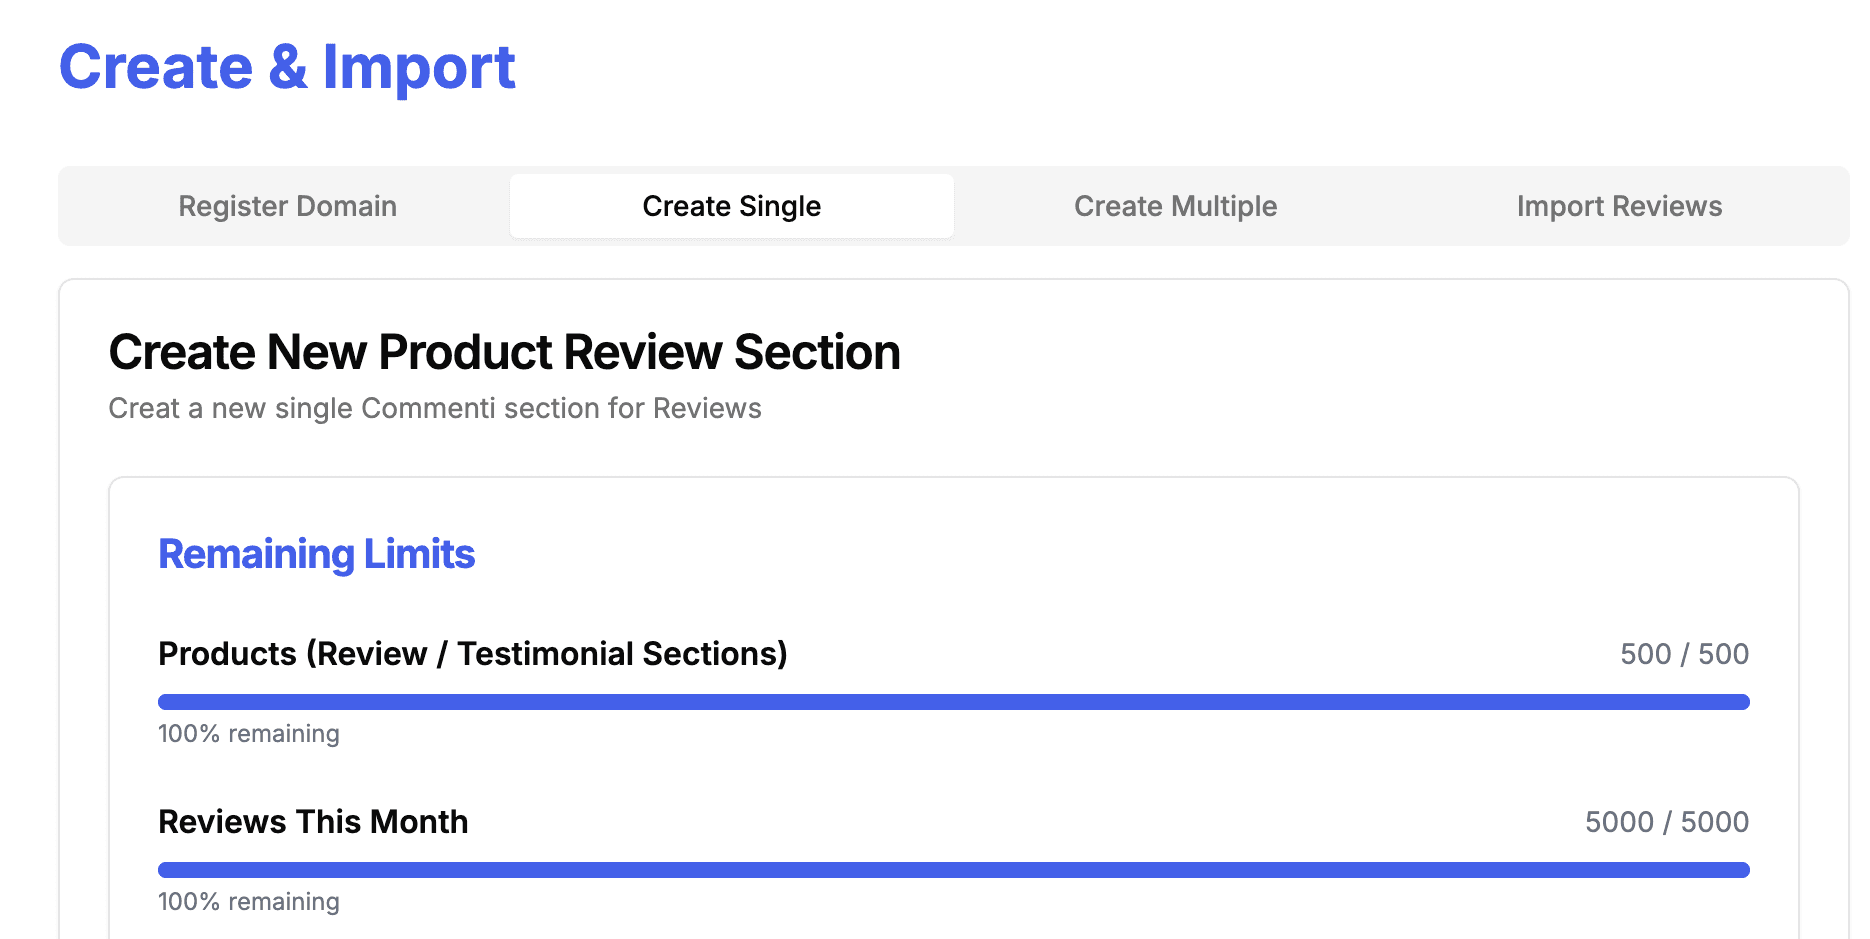
- Enter the product name
- Select the base domain from registered domains
- Input the pathname
- Choose the section type based on your plan
For Multiple Creation:
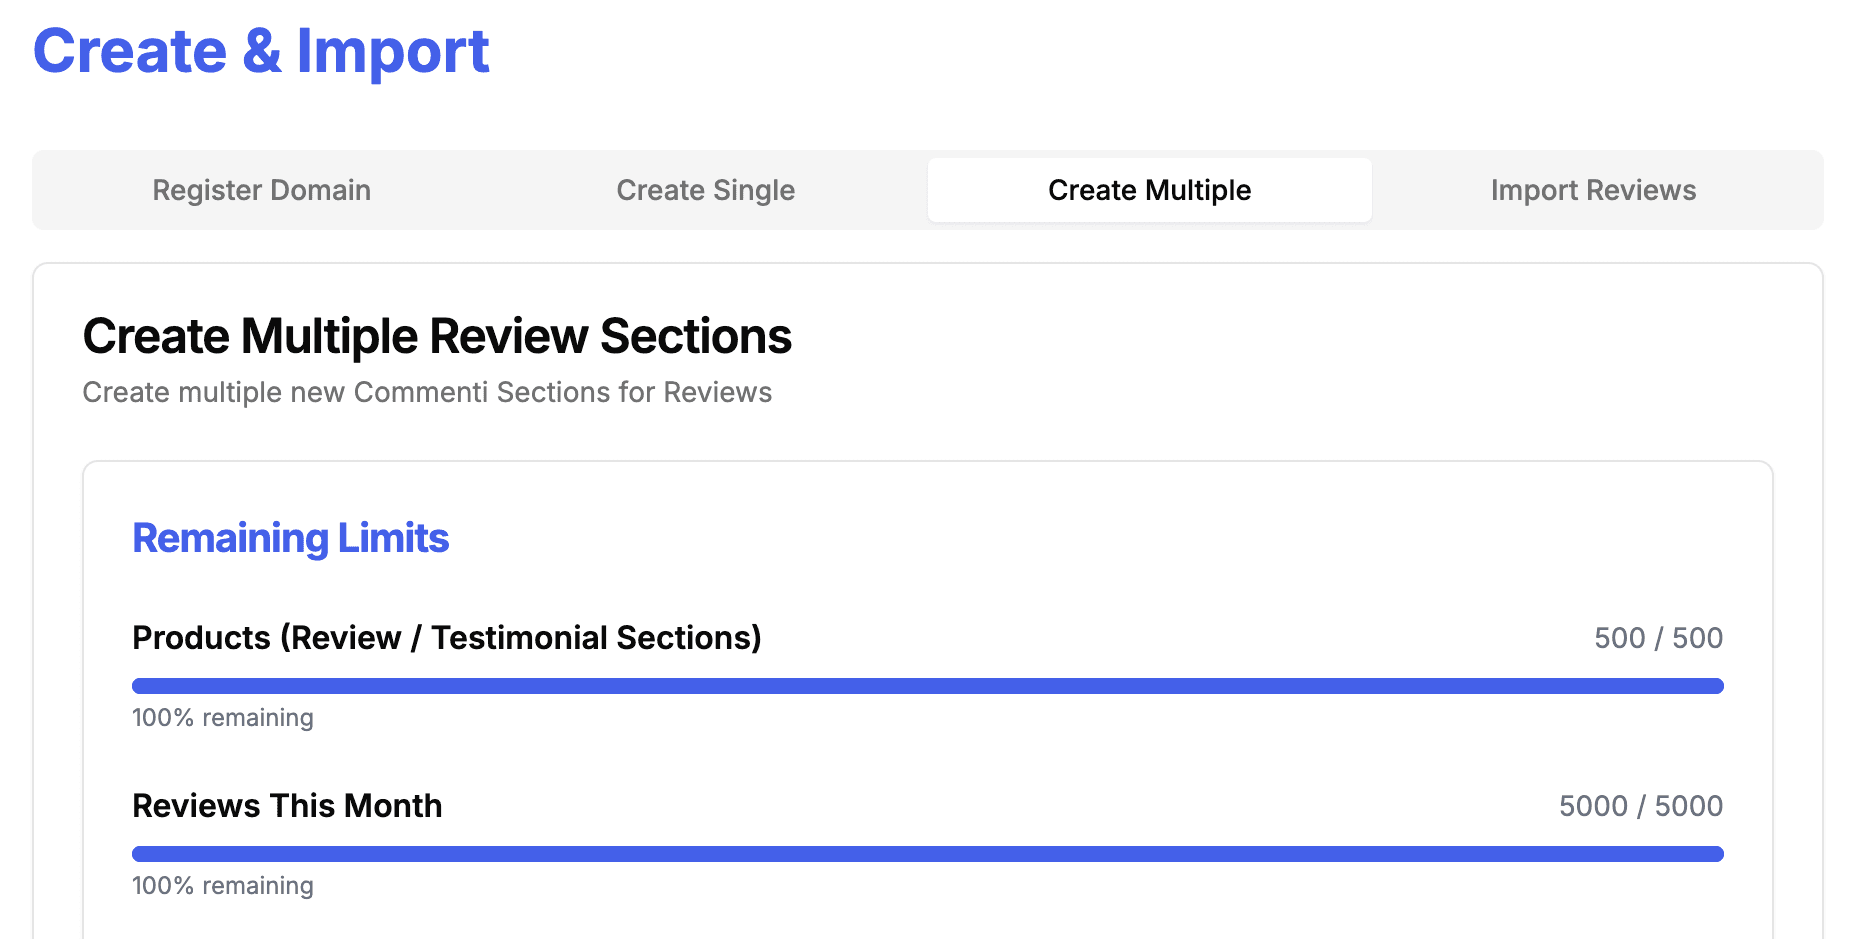
- Select the base domain
- Input multiple pathnames (up to 100)
- Choose the section type
3. Importing Reviews
To import existing reviews:
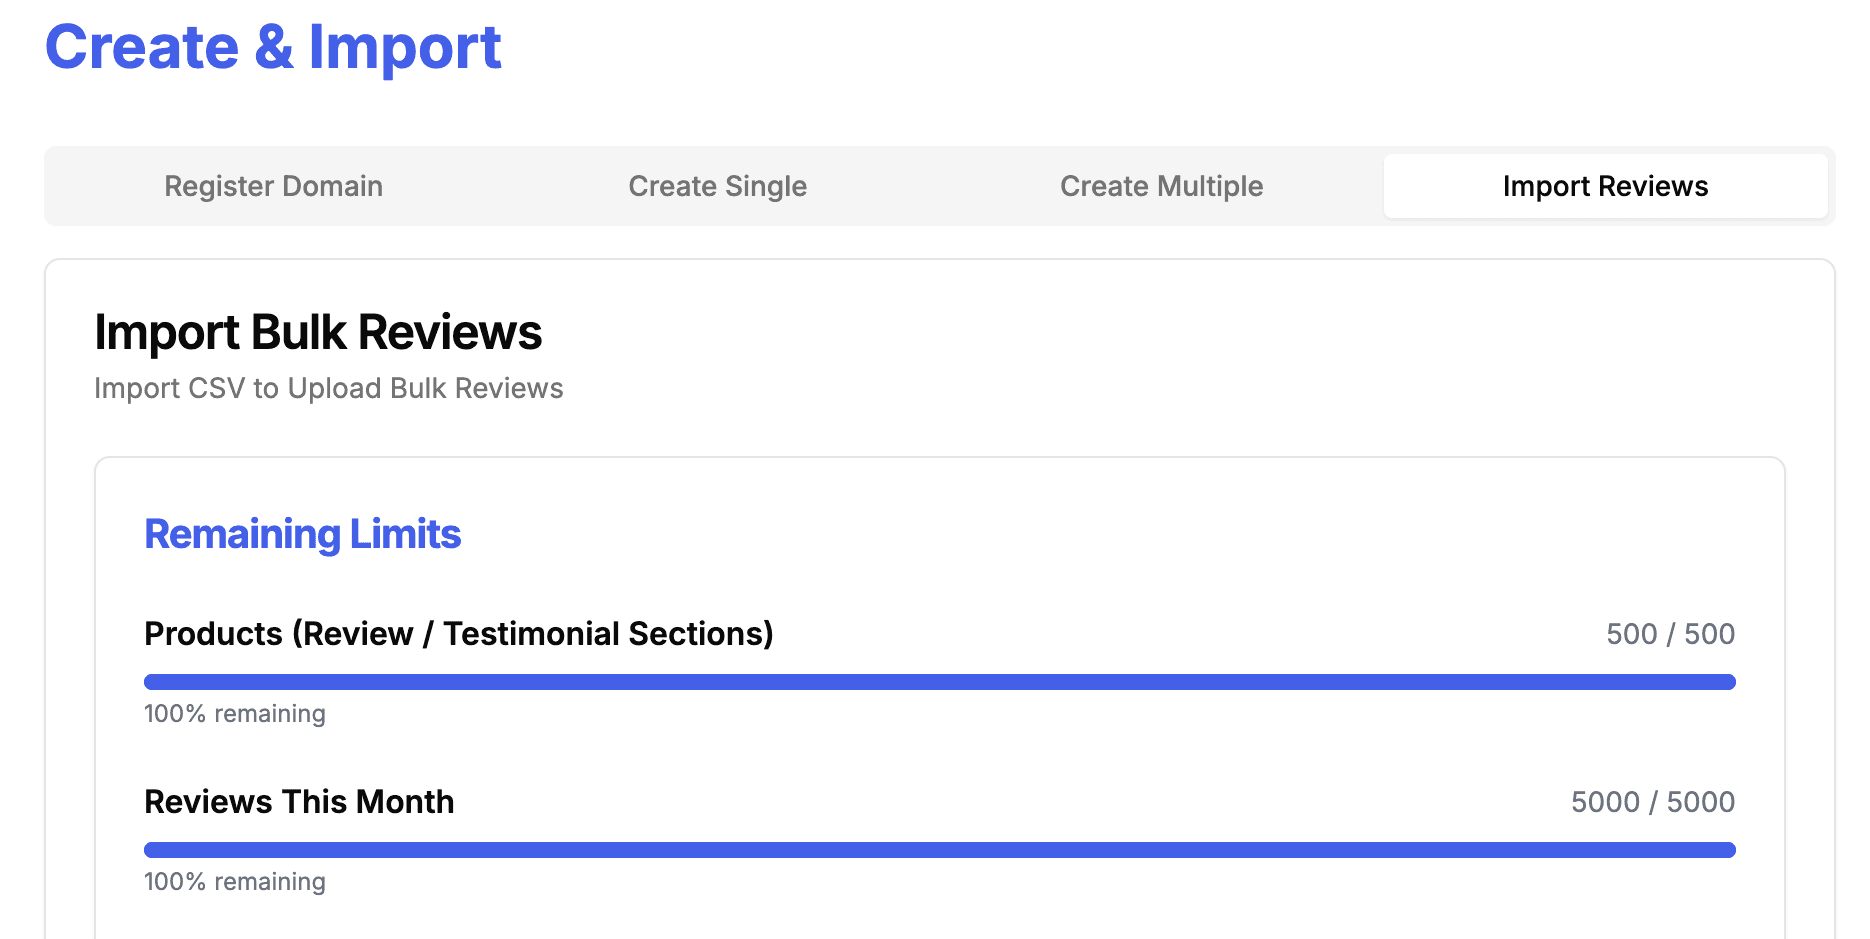
Navigate to the "Import Reviews" section
Select the domain and product for import
Upload your CSV file (max 1000 reviews)
Review the formatted data and click "Import Reviews" to finalize
Note: How to Prepare Your CSV File for Upload
To ensure a smooth upload, your CSV file should have the following column names for reviews:
Review Content
This is the text of the review. Your column can be named one of the following :
review content, review, content, comment, feedback, body, text.
Rating
This is the score given by the customer. The column can be named:rating, star, score
Author:
This is the name of the person who left the review. You can name this column:author, name, customer, or reviewer.
Images (optional):
If your review includes images, the column can be called:image, photo, picture.
Date:
This is when the review was posted. The column can be named:created, createdAt, date, submitted.
Example CSV Format:
| review content | rating | author | date | image |
|---|---|---|---|---|
| Great product! | 5 | John Doe | 2023-10-01 | image1.jpg, image2.jpg |
If your columns use similar names, our system will automatically map them, so don’t worry if they aren't exact!
Manage Reviews
The "Manage Reviews" section allows you to moderate and control the reviews displayed on your website:
- Filter reviews by domain, path name, or product name
- Edit review content directly in the dashboard
- Mark reviews as verified or hidden
- Bulk actions for efficient management
- Save changes to update your live reviews
Important:
Changes made here will be reflected on your website immediately after saving.
Manage Users
The "Manage Users" section provides control over user access and permissions:
- View all users who have left reviews on your products
- Filter users by domain, path name, or product name
- Ban or unban users from leaving reviews
- View the number of reviews left by each user
- Access detailed review history for each user
Important:
User banning feature is only available for Standard and Business plan subscribers.
Install & Customize
Pro Tip:
For detailed installation instructions and advanced customization options, refer to our comprehensive installation guide.